Enrichments
An enrichment takes a rough product file (a supplier sheet, an ERP export, a DataX file) and returns every product with your fields filled in and classified to your taxonomy.
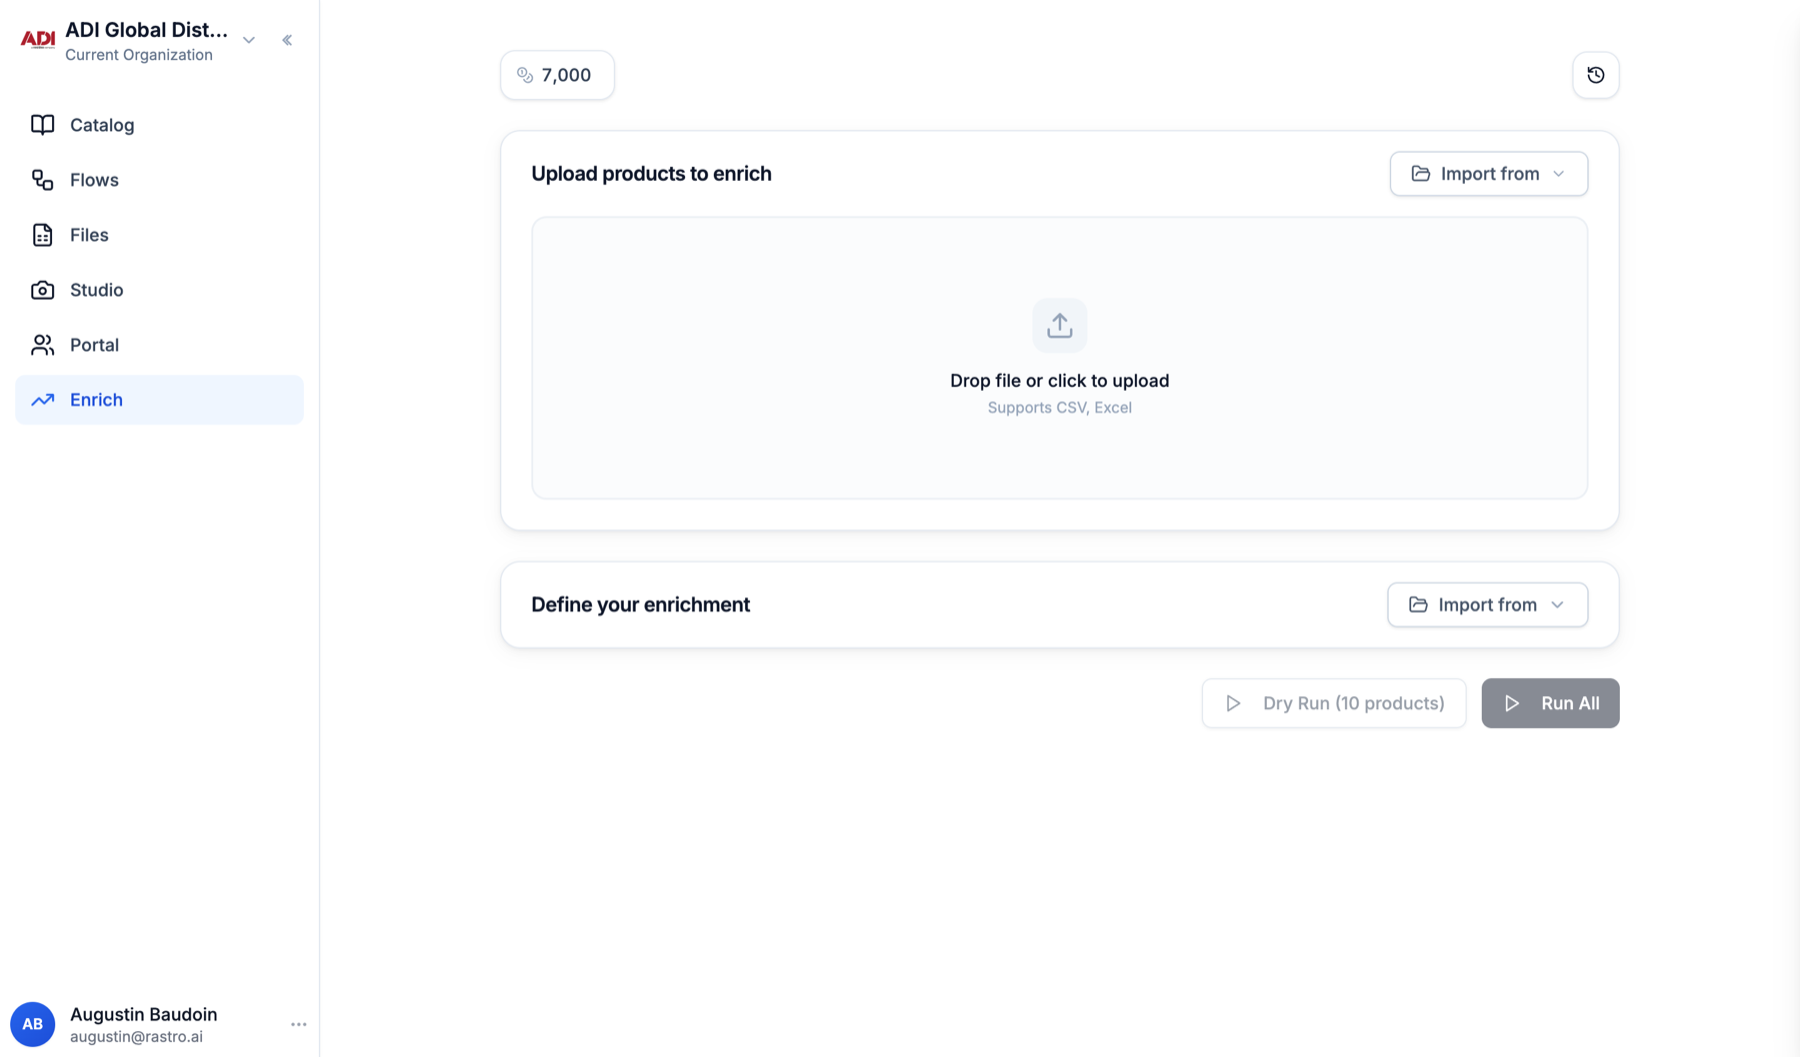
1Setting up a job
Open the Enrich tab. A job needs an input file and an enrichment definition, nothing else.
- 1
Upload your products
Drop any CSV or Excel file exactly as you received it. Columns are detected automatically; a part number and a brand are enough. - 2
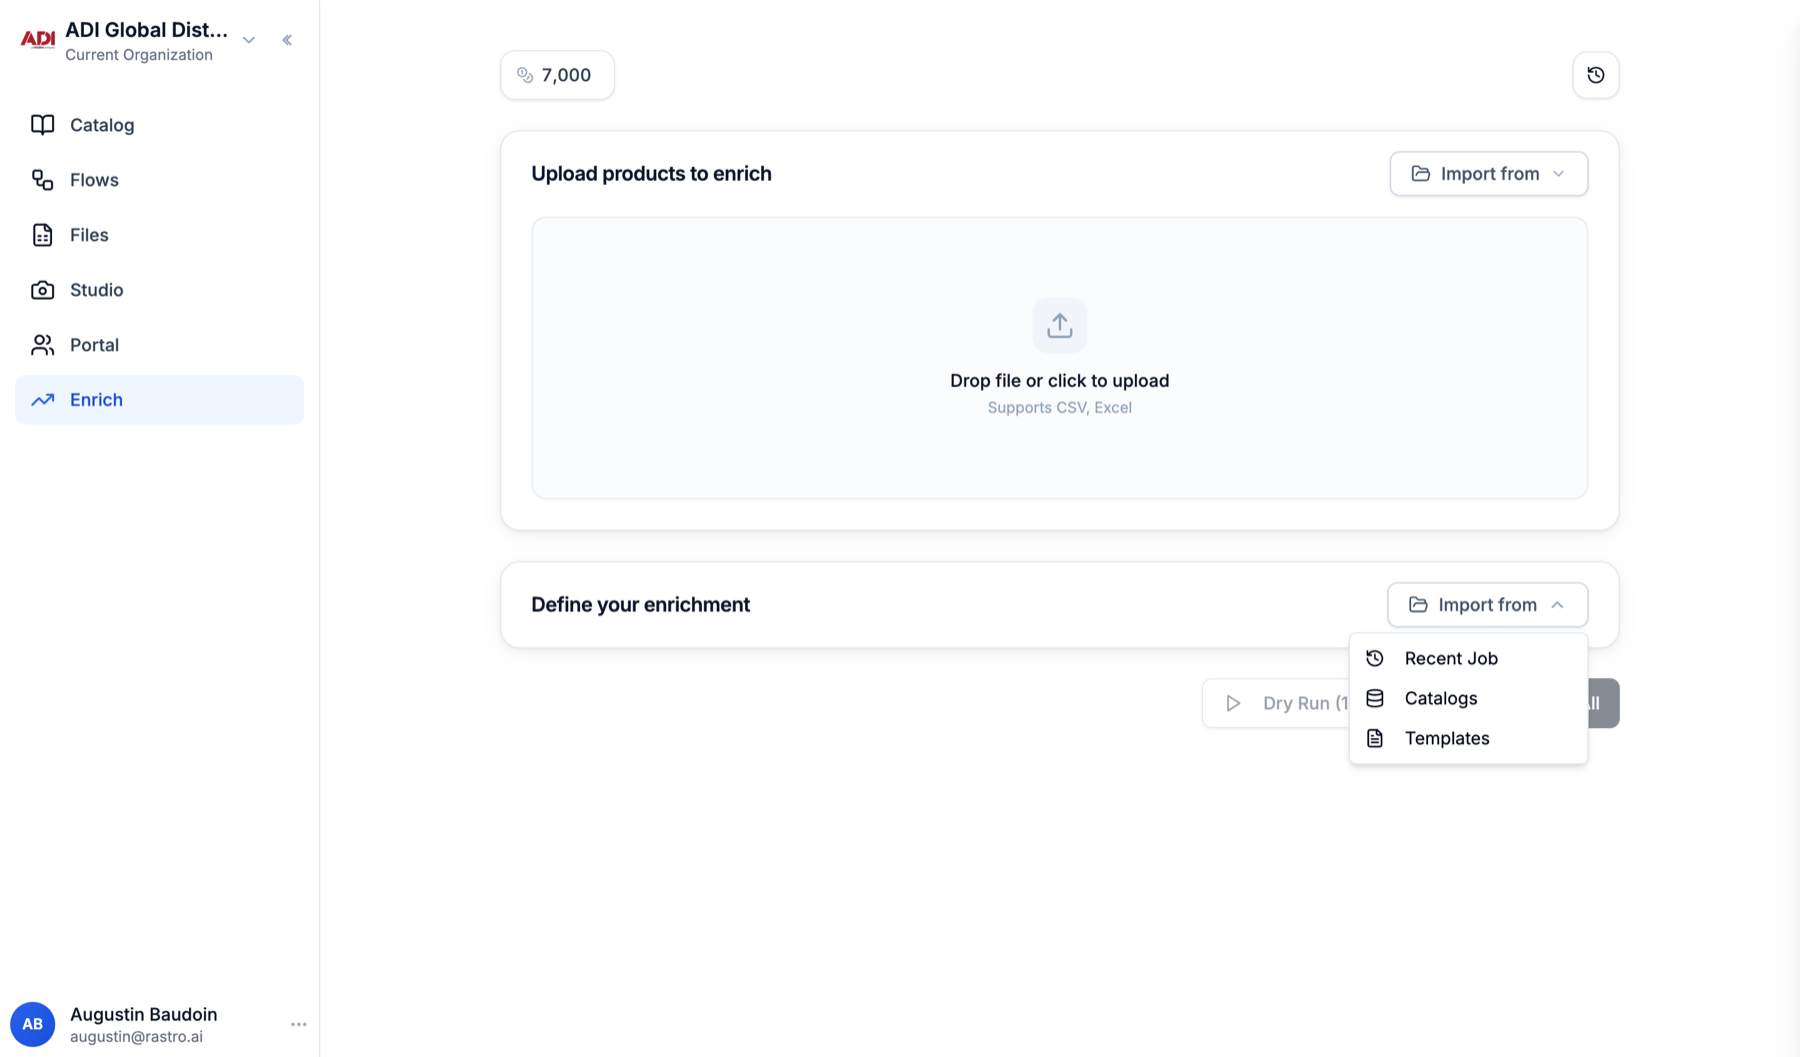
Pick your template
Import from then Templates. A template carries everything: output fields, taxonomy, web search, image handling, and your source rules (manufacturer sites first, your banned list excluded). - 3
Run
Press Run All. A full enrichment costs the same as a partial one, so always run your full template.
2Fields and templates
The enrichment definition is what makes the output yours. A template is simply a saved definition we maintain for you; you can also build or adjust one by hand.
- 1
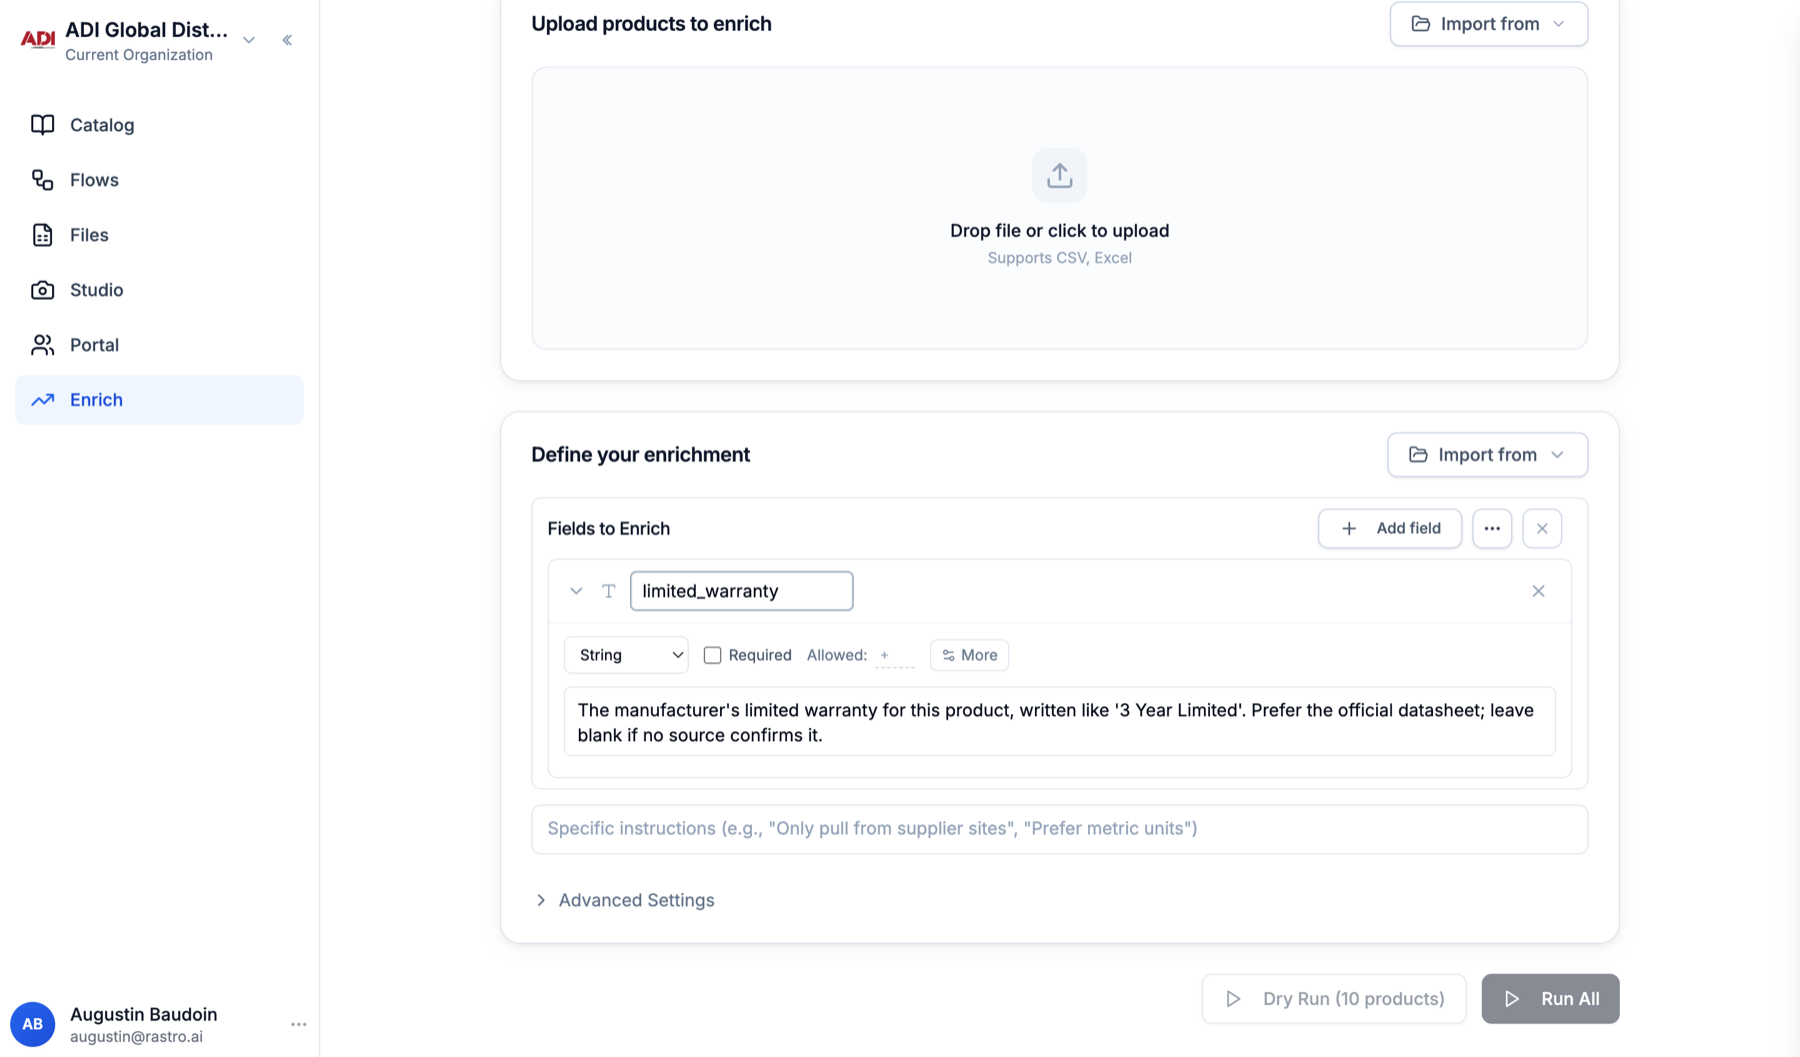
Add a field
Click Add field in the Fields to Enrich section. Give it a name (this becomes the column header) and a type: text, number, URL, image or PDF, single value or list. - 2
Describe it like you would brief a person
The description tells the AI what the field contains, where to look, and how to write it. Include the format you want and when to leave it blank. This one sentence is the highest-leverage thing you can edit. - 3
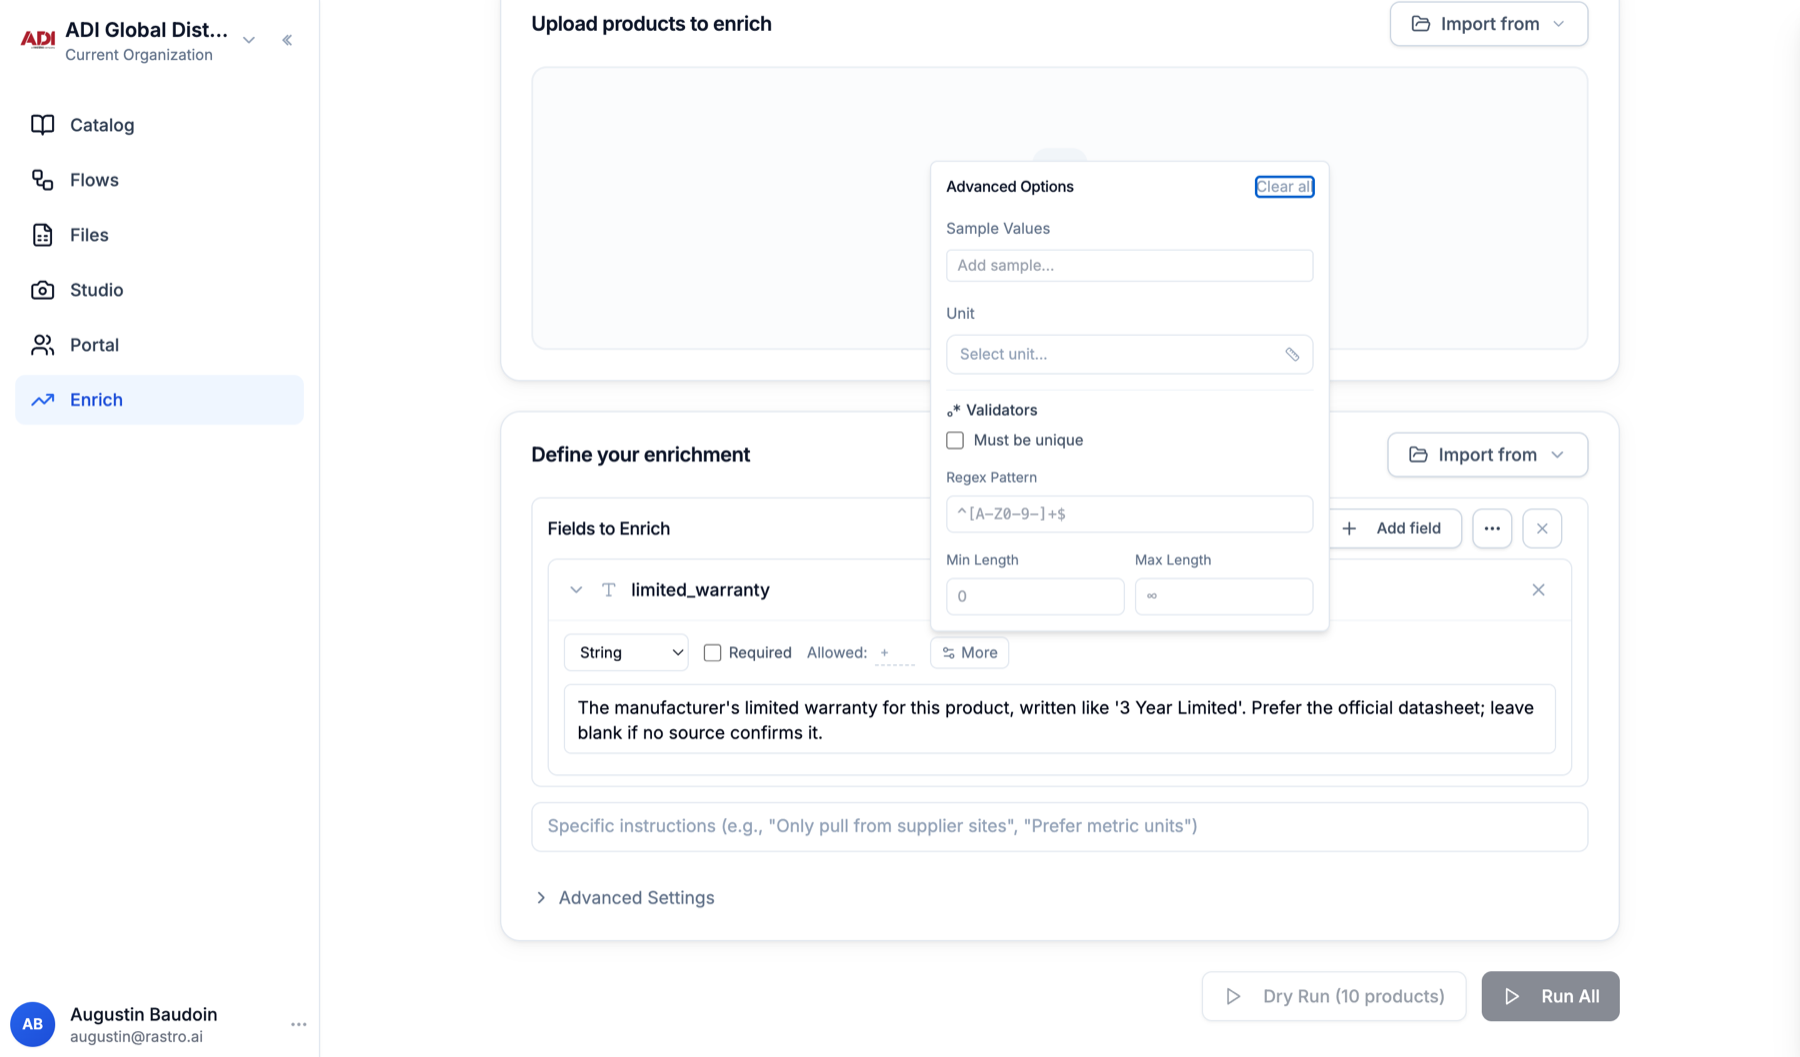
Constrain it
Required and Allowed (a fixed list of values) sit next to the type. More opens sample values, a unit, and validators such as a regex pattern or length limits. Values that break a rule are flagged instead of exported silently.
- 1
Tweak a template for one run
Pick the template, then edit anything in the loaded definition: add a field, sharpen a description, toggle web search. The change applies to that run only; the template itself stays as we configured it. - 2
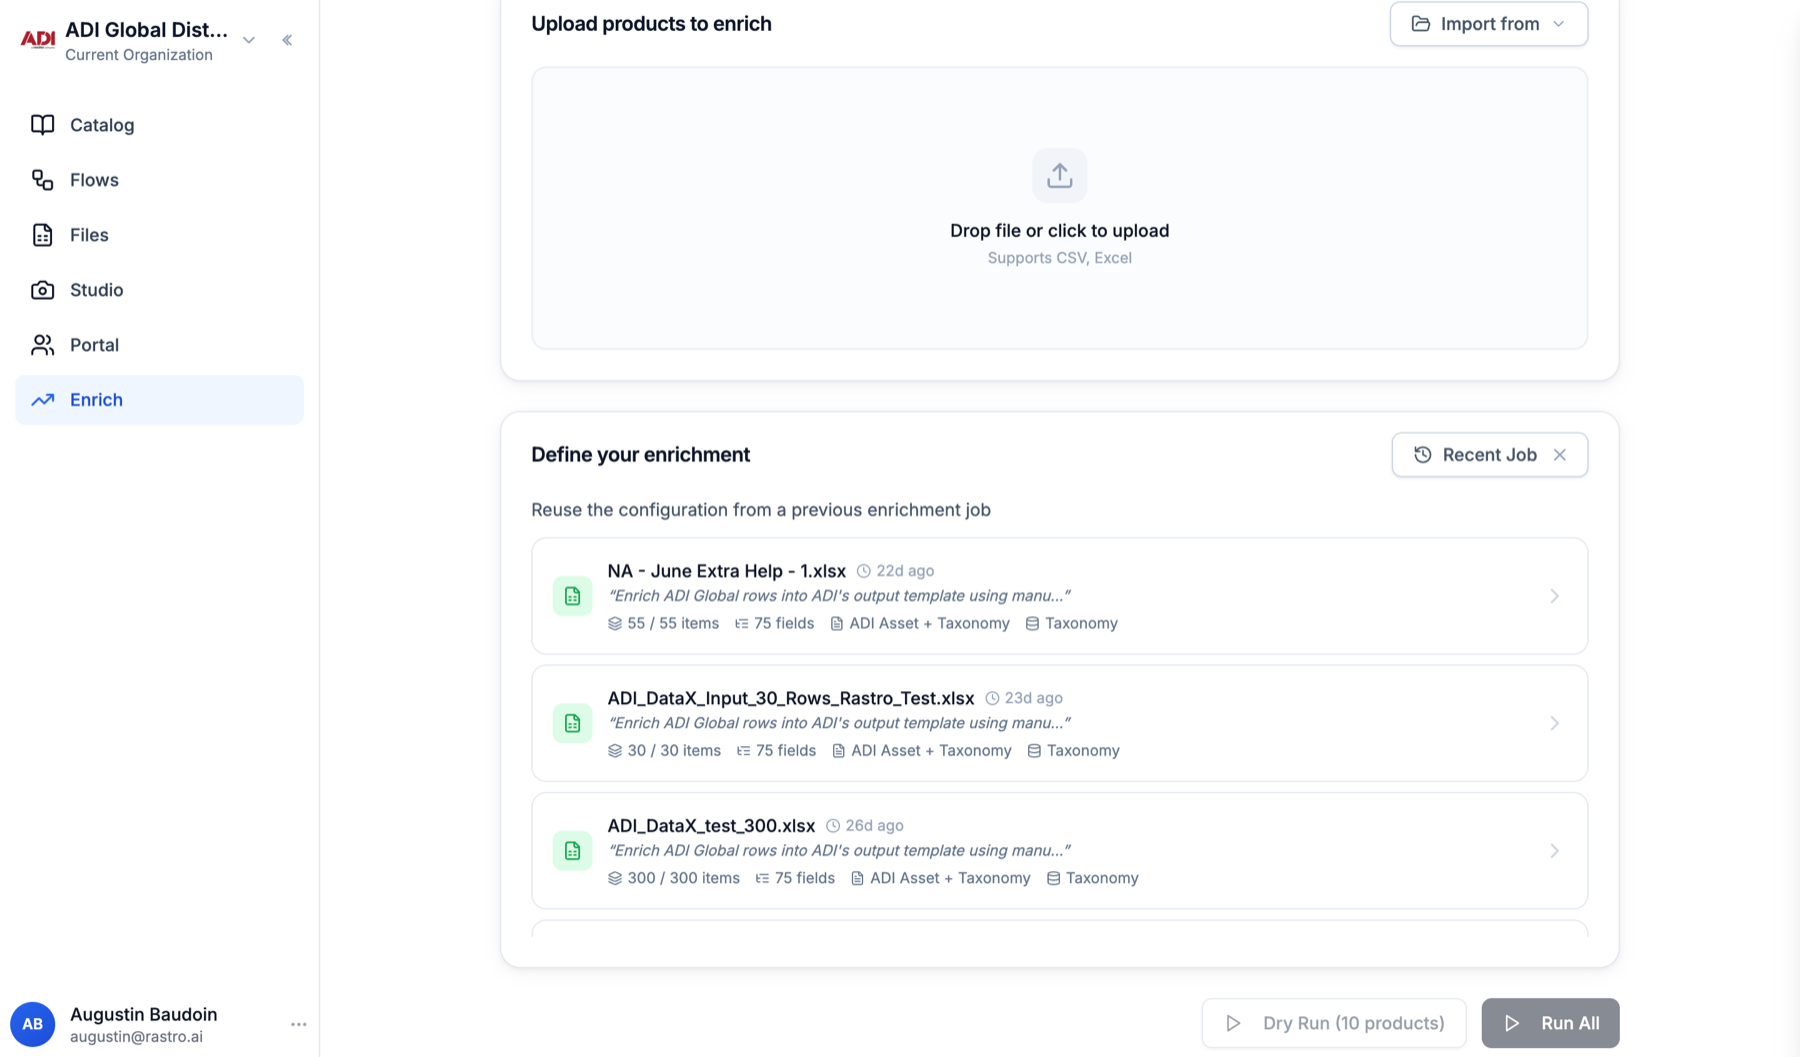
Repeat a past setup exactly
Import from then Recent Job loads the exact configuration of any previous run, including one-off tweaks. This is the easiest way to keep batches consistent. - 3
Make a change permanent
Templates are managed by Rastro, so a tweak you want on every future batch is a one-line message to us (or use Add template for a whole new destination). We update it, and every run from then on picks it up.
3Validating a job
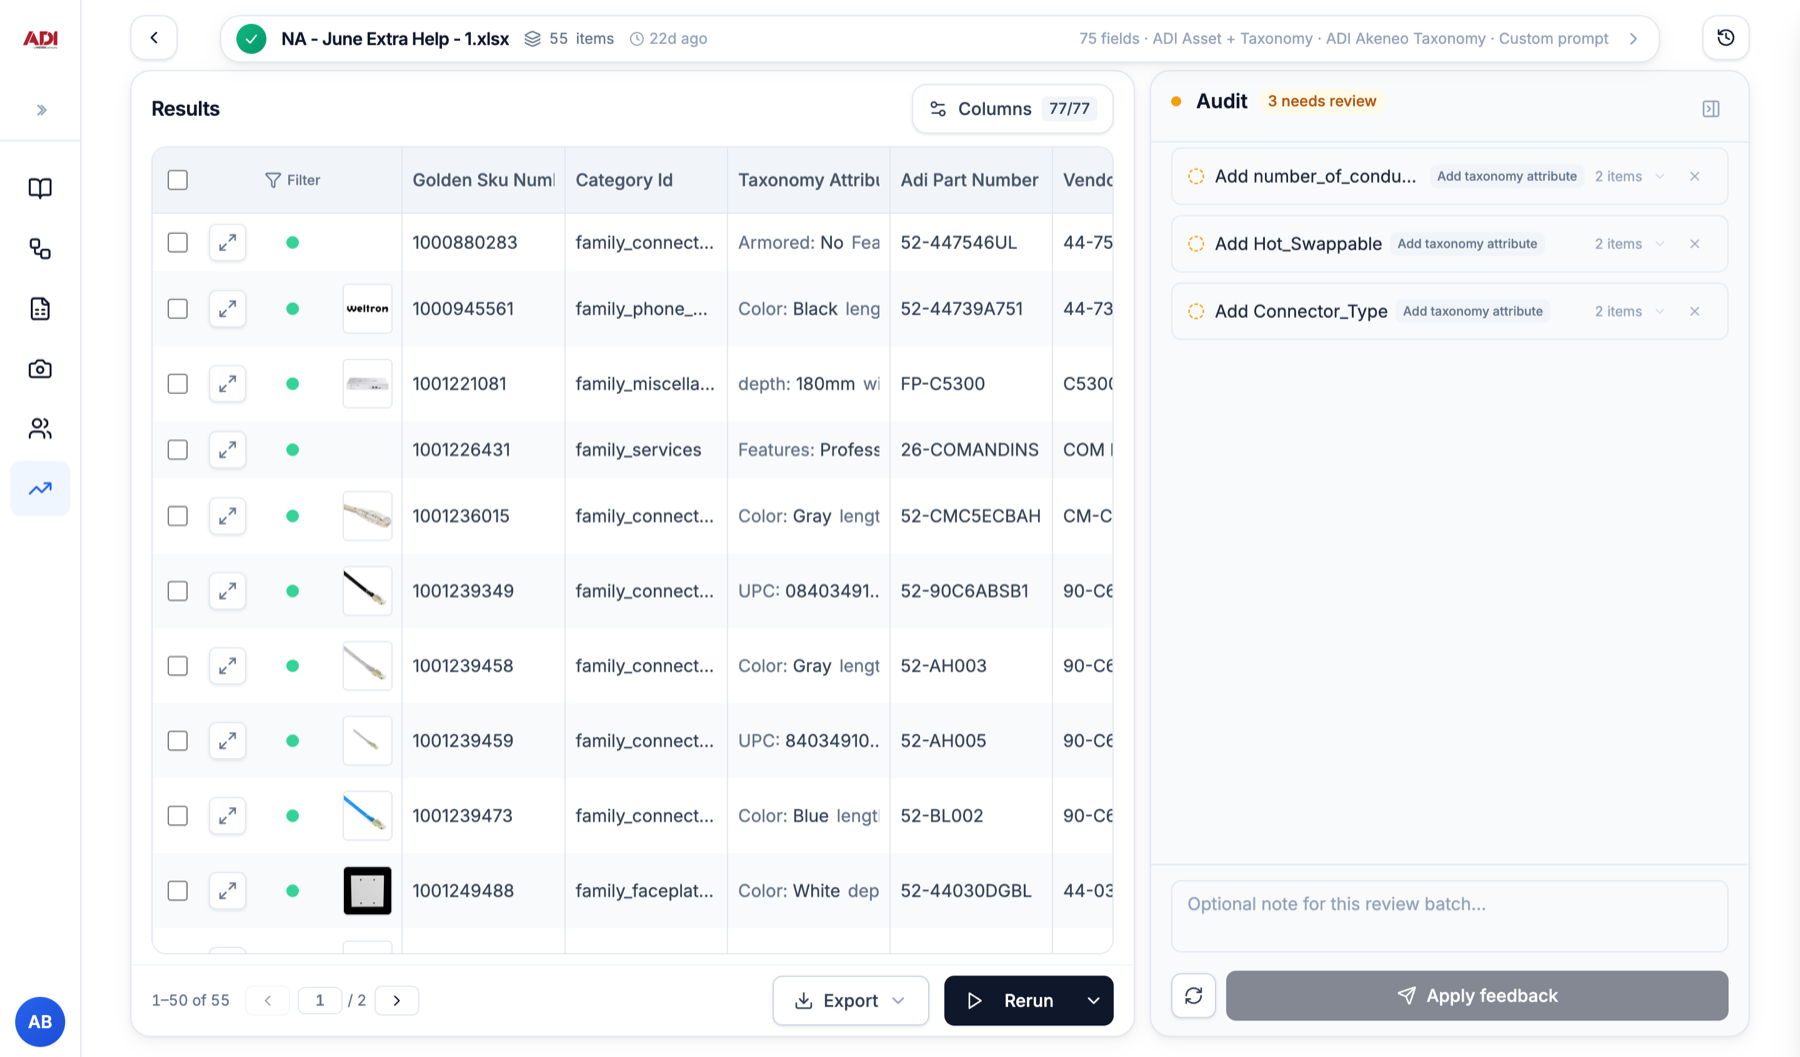
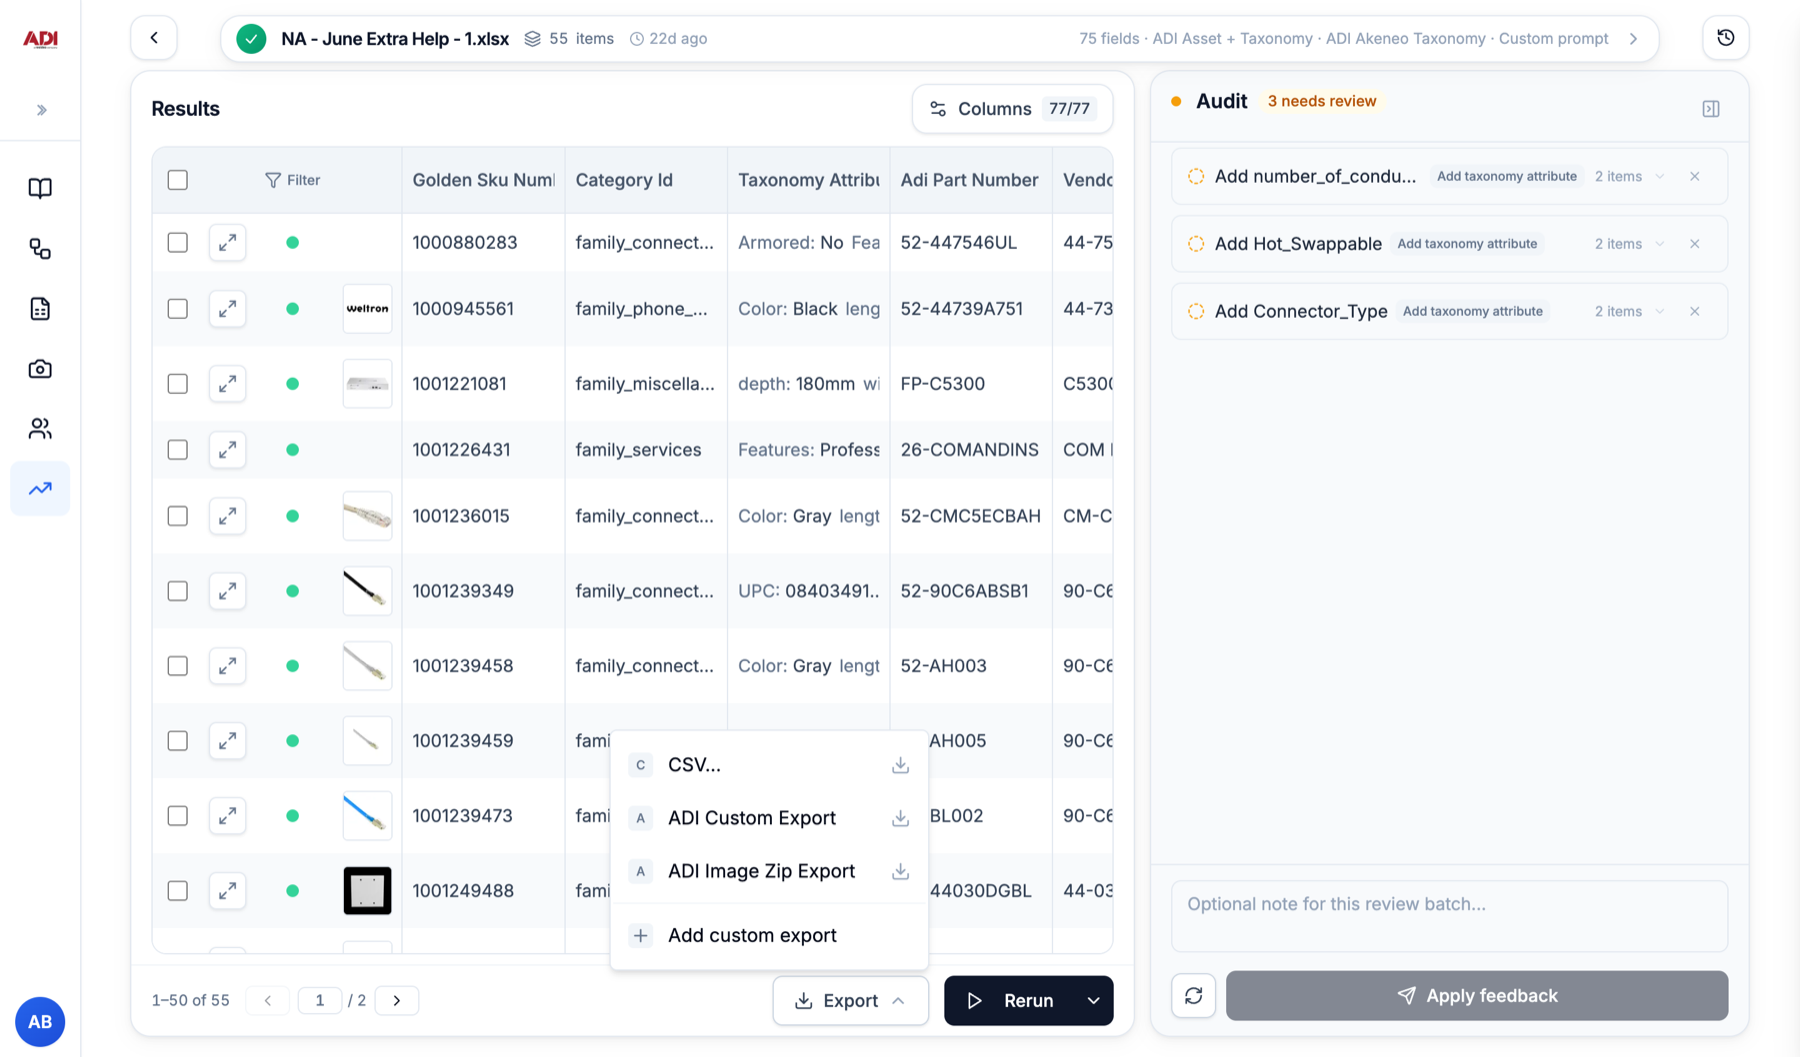
The results table shows one row per product, one column per field. One rule governs everything: a field is left blank rather than guessed.

- 1
Filter to what needs a look
Click Filter in the table header and pick Needs review. Flagged rows still export; they are just marked. What gets flagged is tunable: tell us in plain language what deserves a human look and we bake it into your template. - 2
Work through the audit
The Audit panel is where Rastro suggests changes to your taxonomy, for example an attribute it thinks a family is missing. Expand a suggestion to see the affected items, approve or dismiss it, then Apply feedback. Approved changes are applied within the catalog. - 3
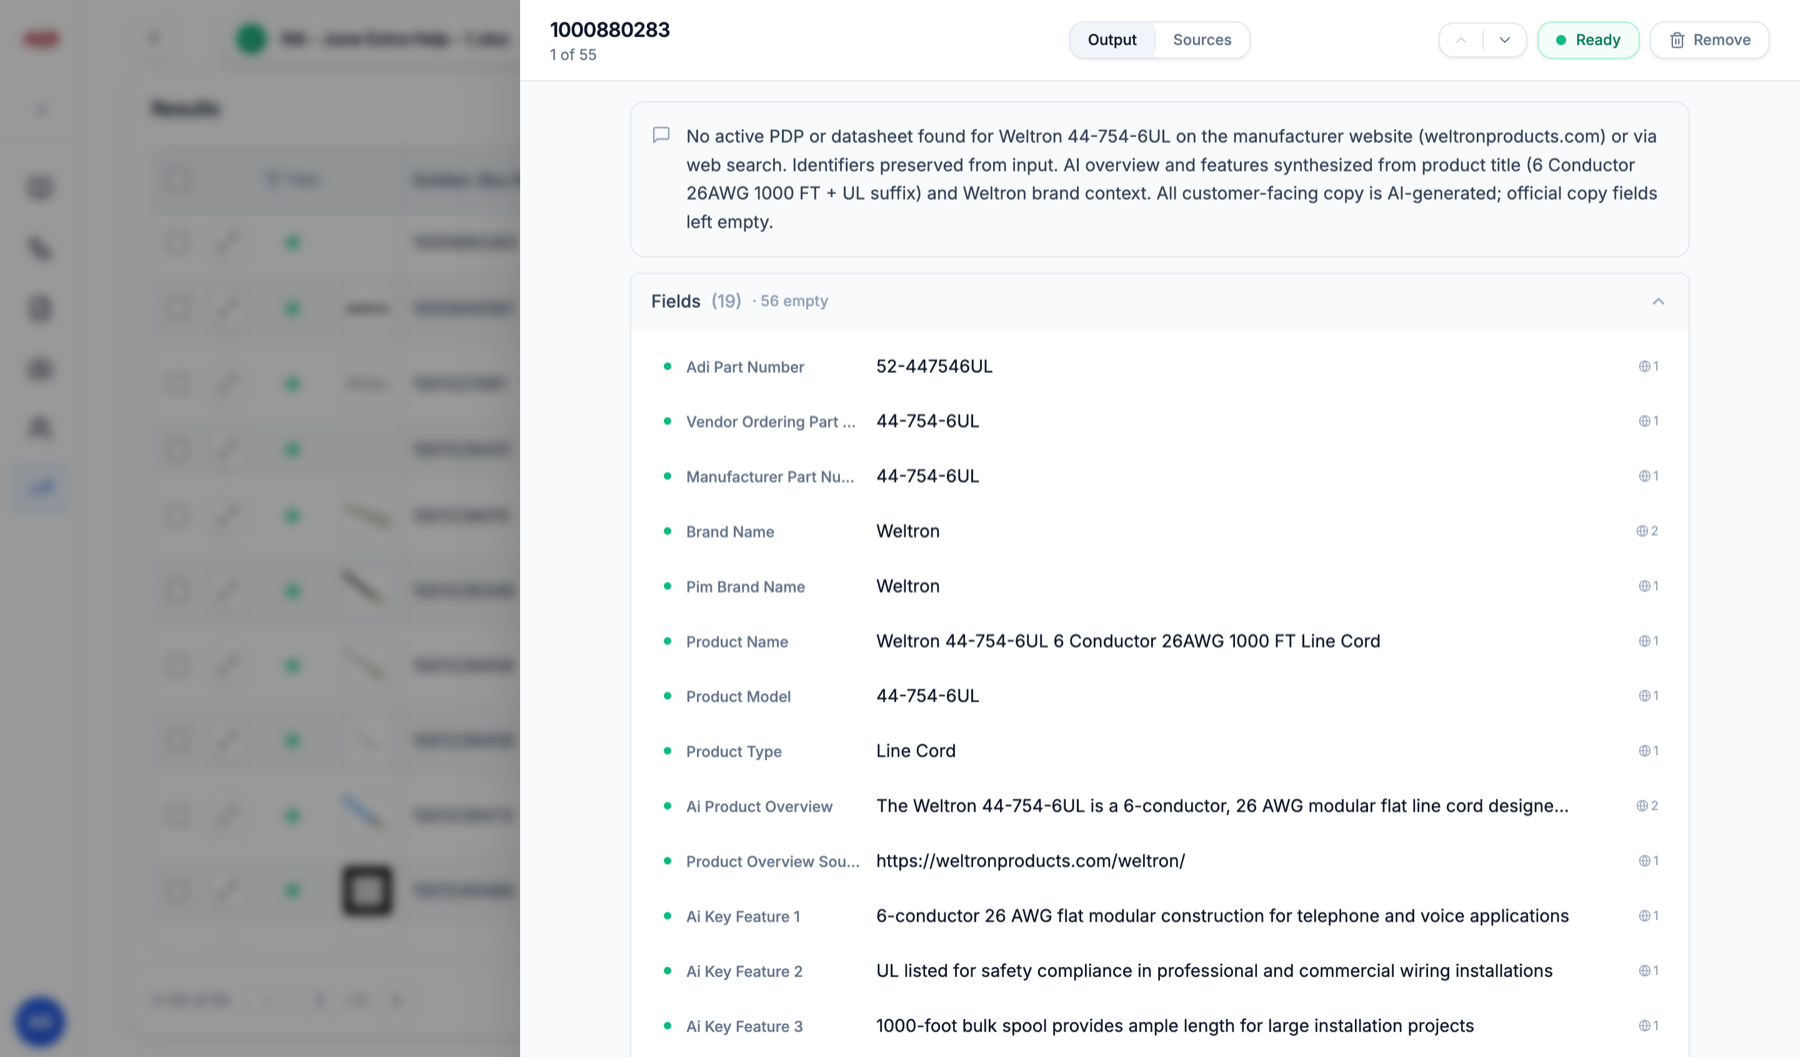
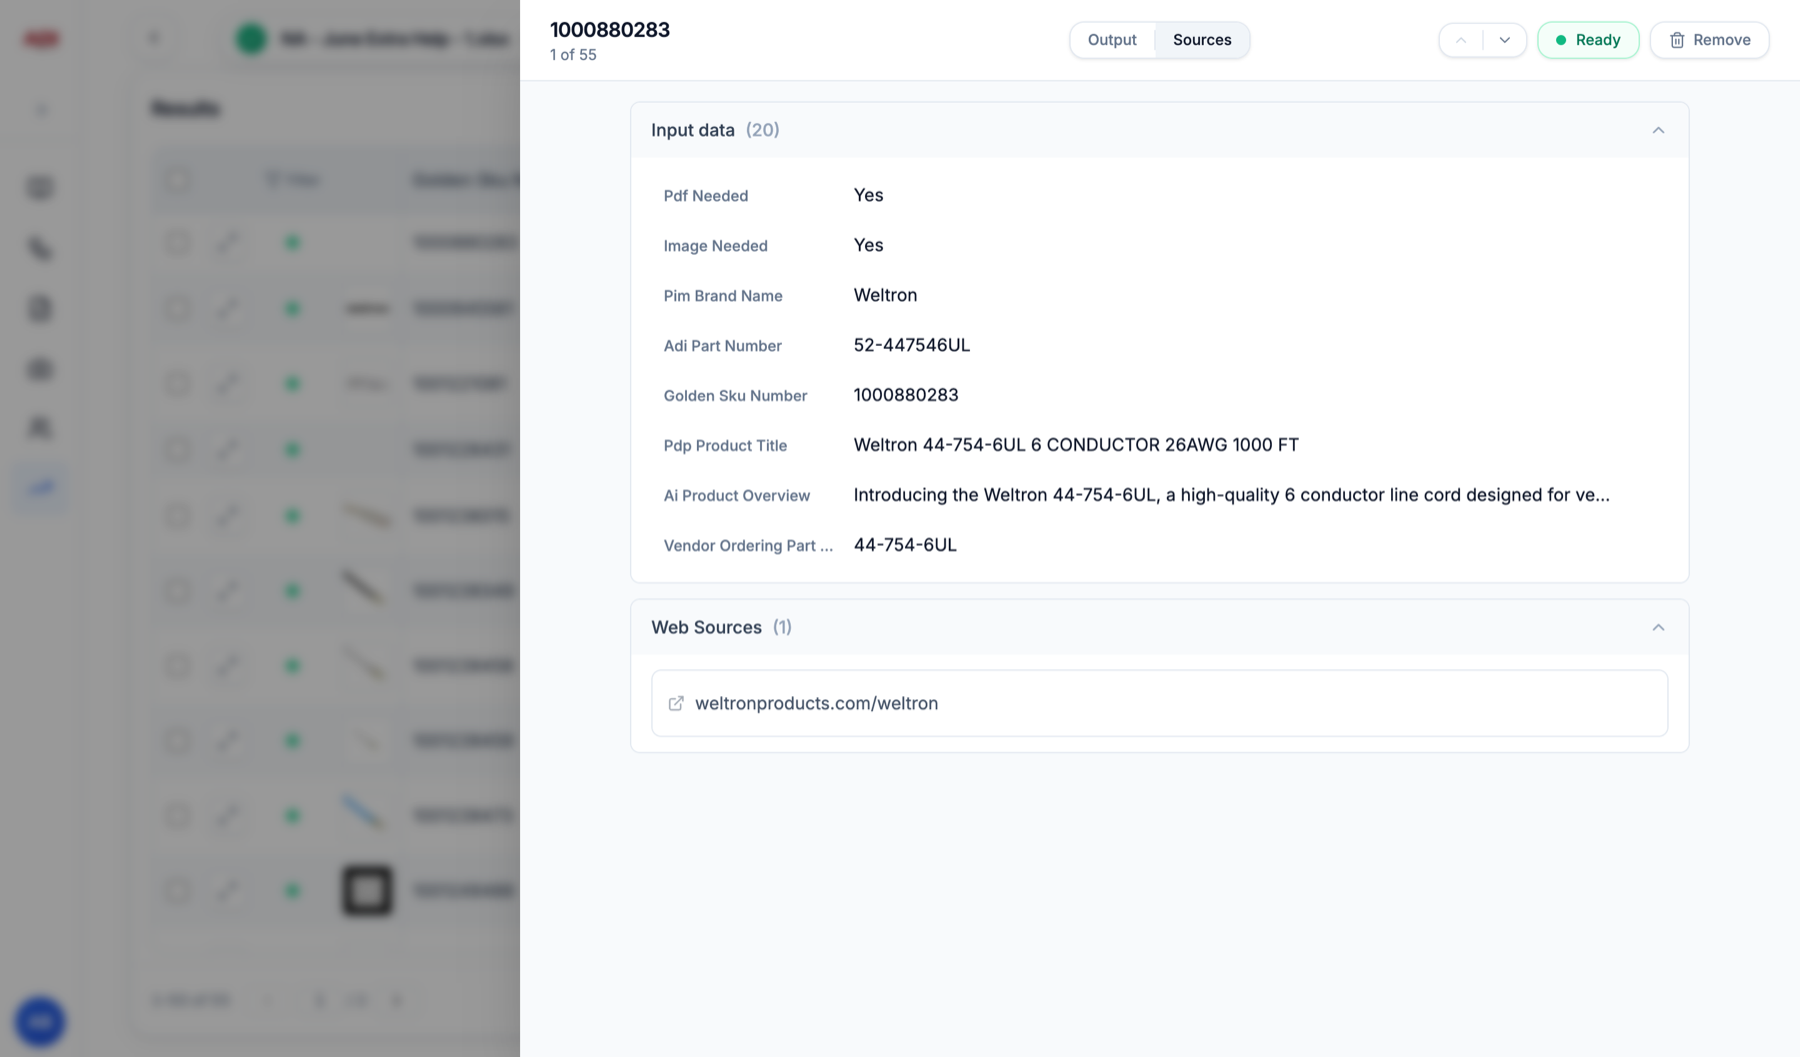
Open a product to see the evidence
The expand icon opens the product. Output shows every field; Sources shows the input row and each web source used. Every field keeps its explanation and sources permanently, so "why is there an image but no dimensions" is answered here, not in an email thread. Use the arrows at the top right to step to the next product without leaving the view.
4Exporting
To keep working on the data in Rastro instead, save the results as a catalog. See the catalogs guide.
5Finding old jobs
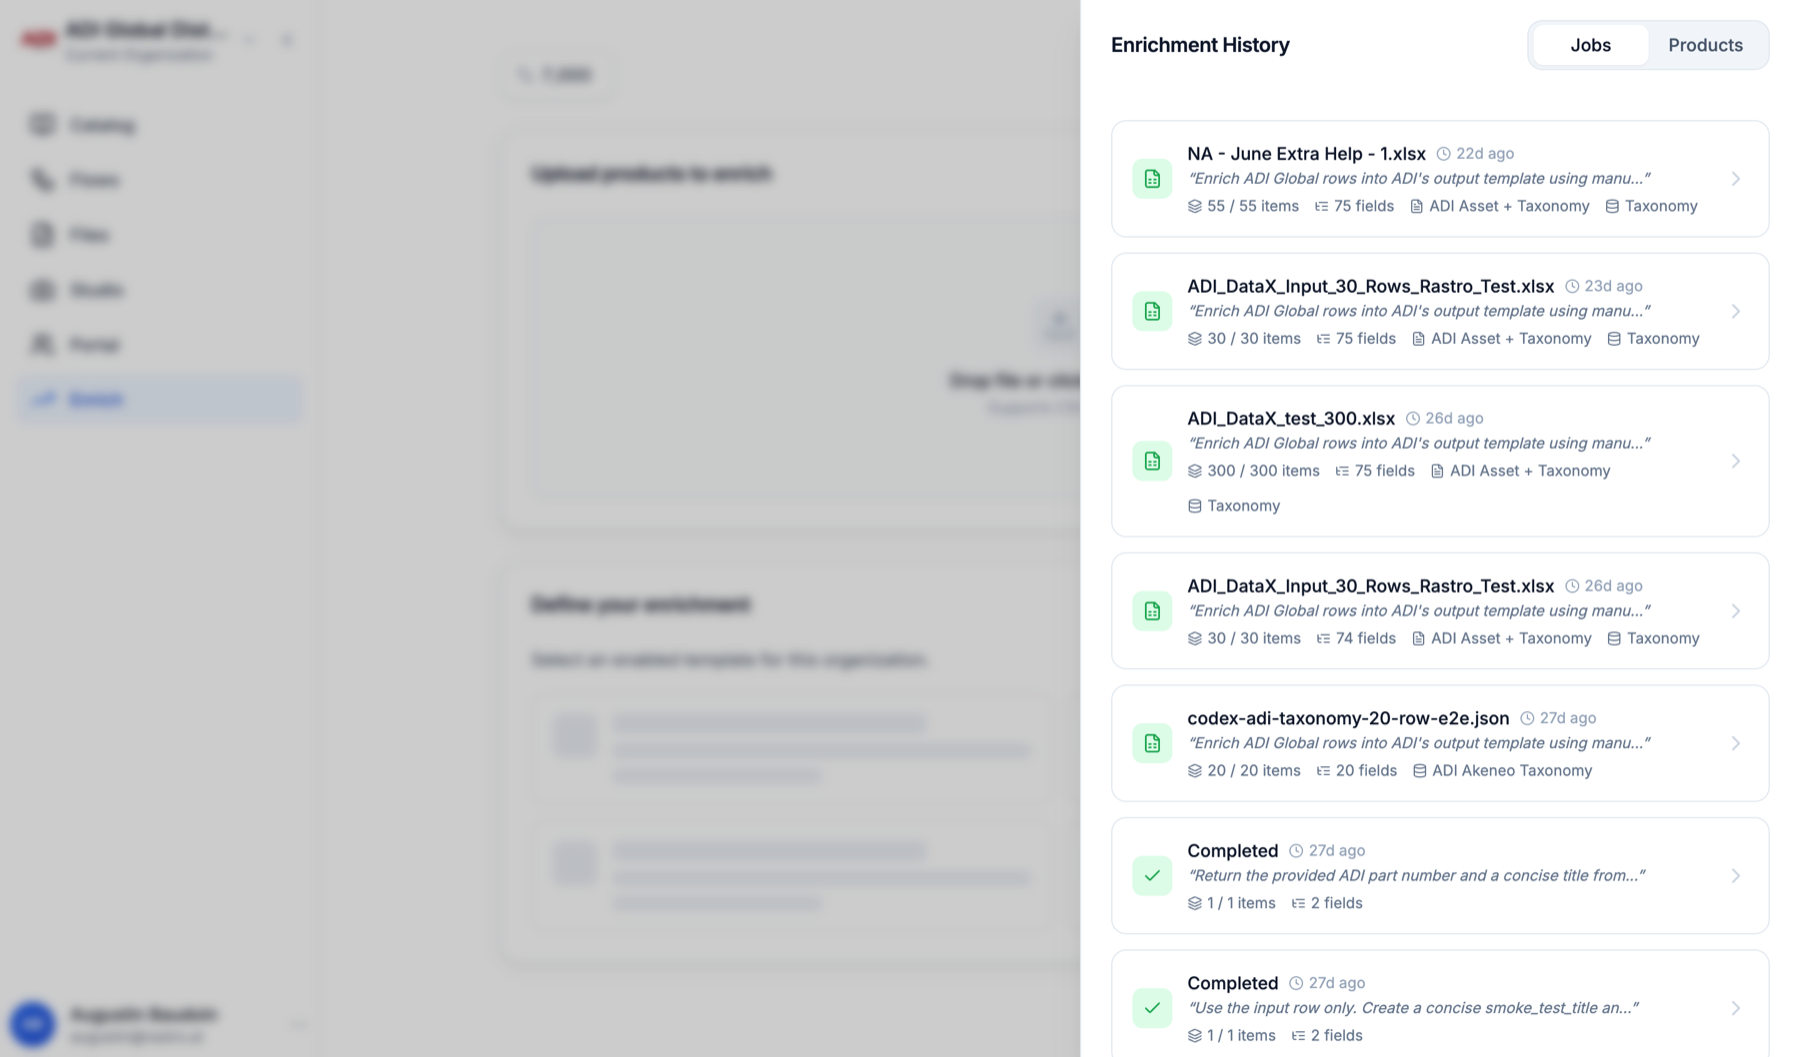
The clock icon at the top right of the Enrich screen opens Enrichment History.
- 1
Jobs: every past run
File name, items completed, field count and template. Click one to reopen its results exactly as you left them. - 2
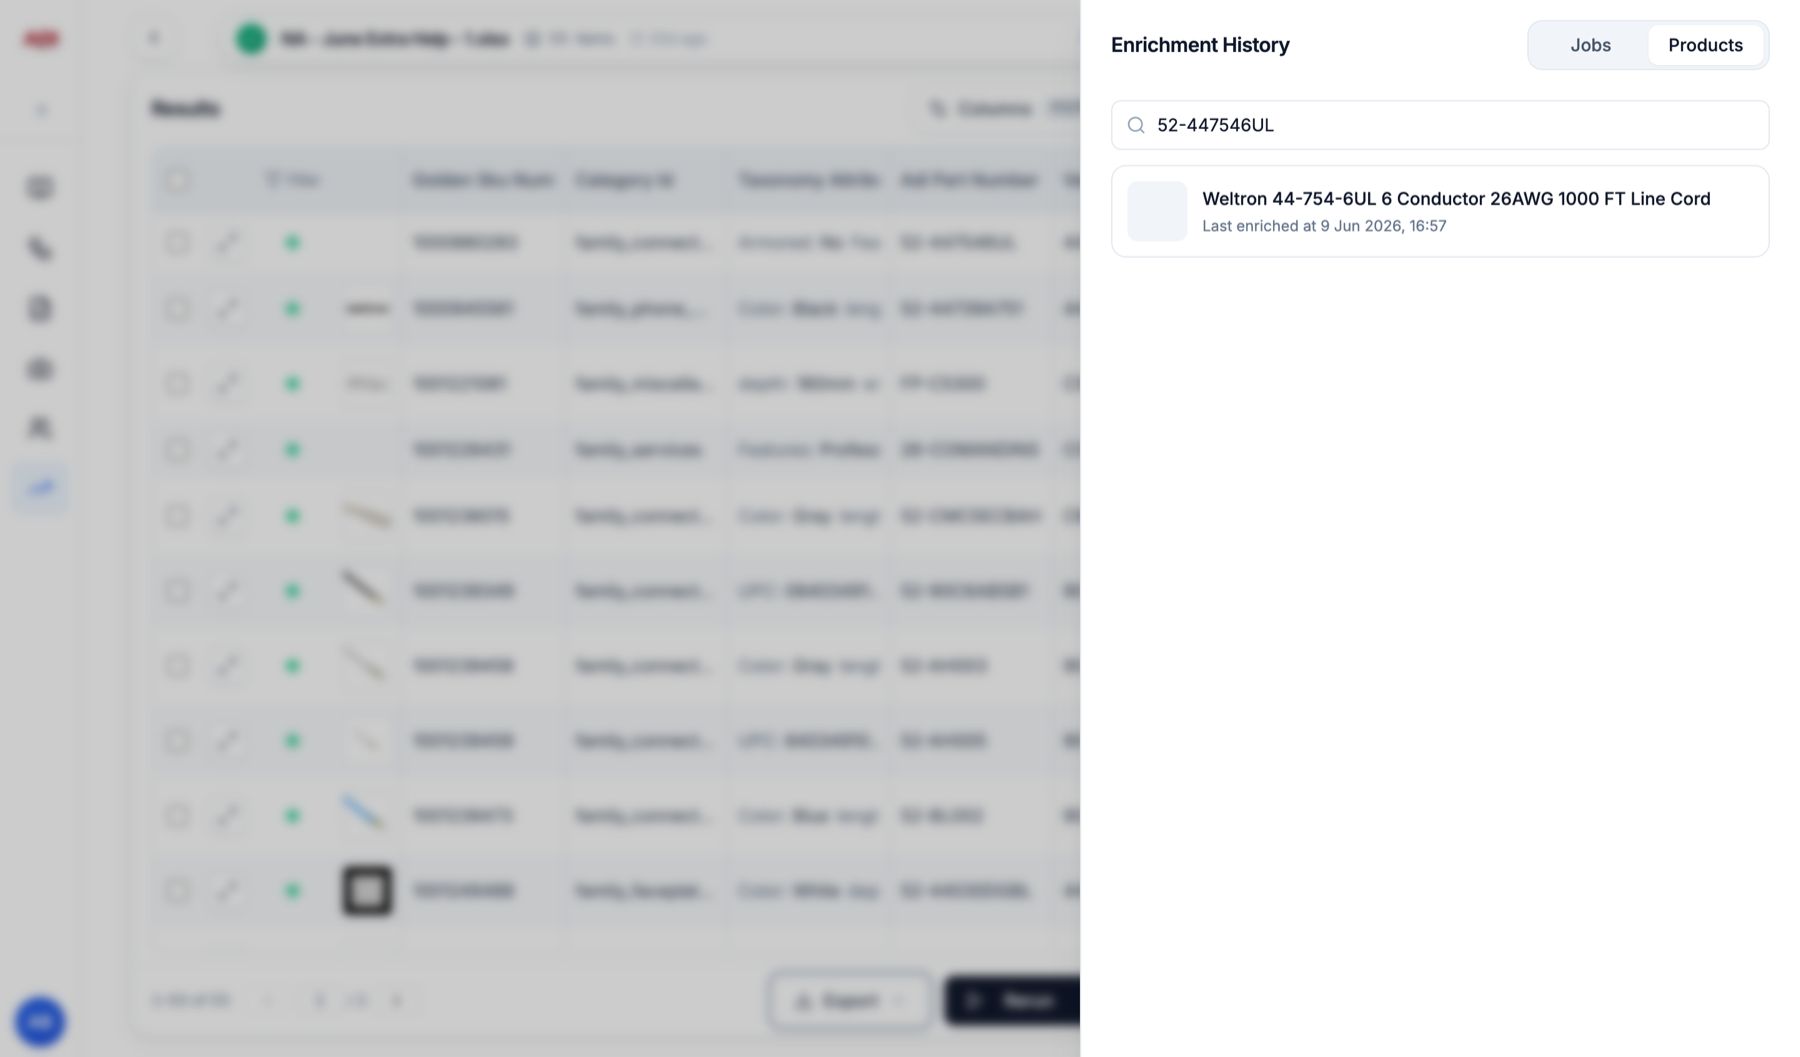
Products: search by part number
Type an id into Search by id to see when a product was last enriched, and click through to its full output. - 3
Share a run
Every enrichment has a permanent link. Copy the URL and anyone in your organization opens the same results.