
Photo studio
The photo studio (the Studio tab) turns the images already sitting in your catalogs into imagery that meets your standards: white-background packshots, lifestyle scenes, background cleanup, even short videos. Describe the change in plain language, compare the results, and save the winner back onto the product.
1Start from a catalog
The studio works on the products of a catalog — that is where it finds your images, and where finished results are saved back to. So before anything else, you need a catalog with items in it. If you do not have one yet, the Catalogs guide shows how to create one in a minute; you can also create one on the spot from the studio's own catalog picker, then add images with the upload button.
2The workspace
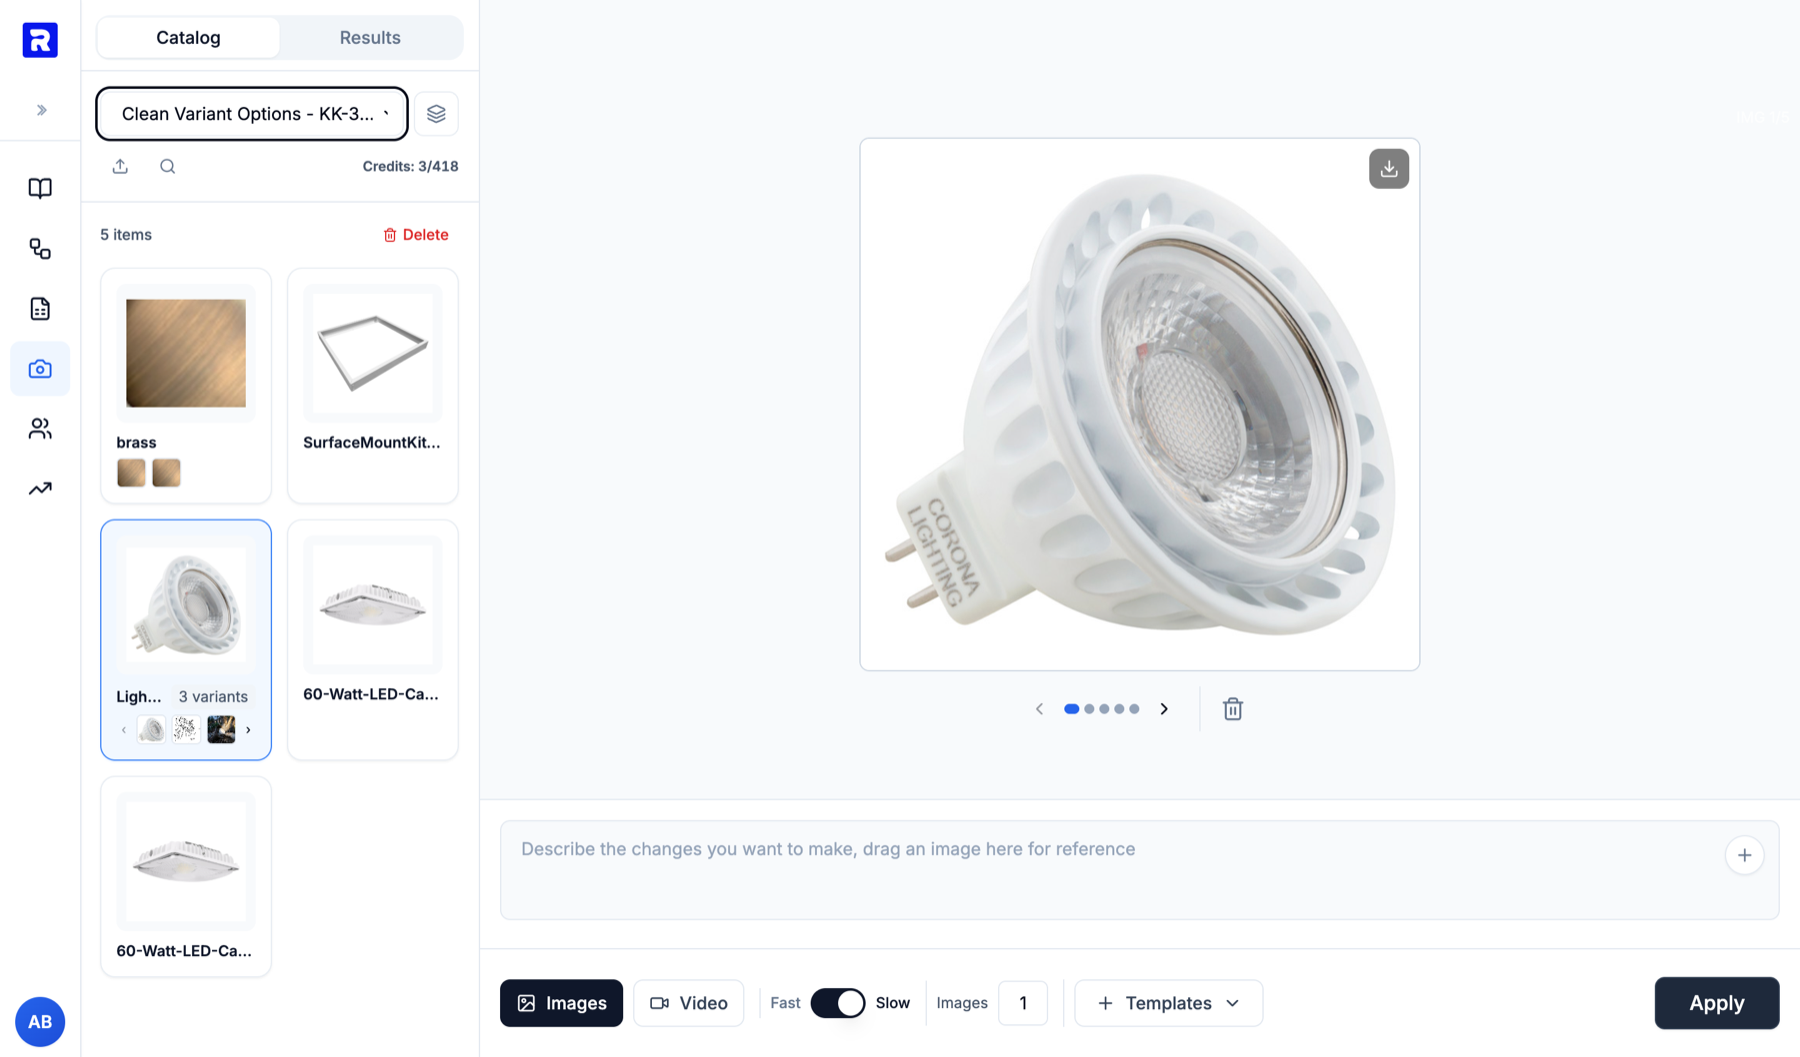
3Editing a product image
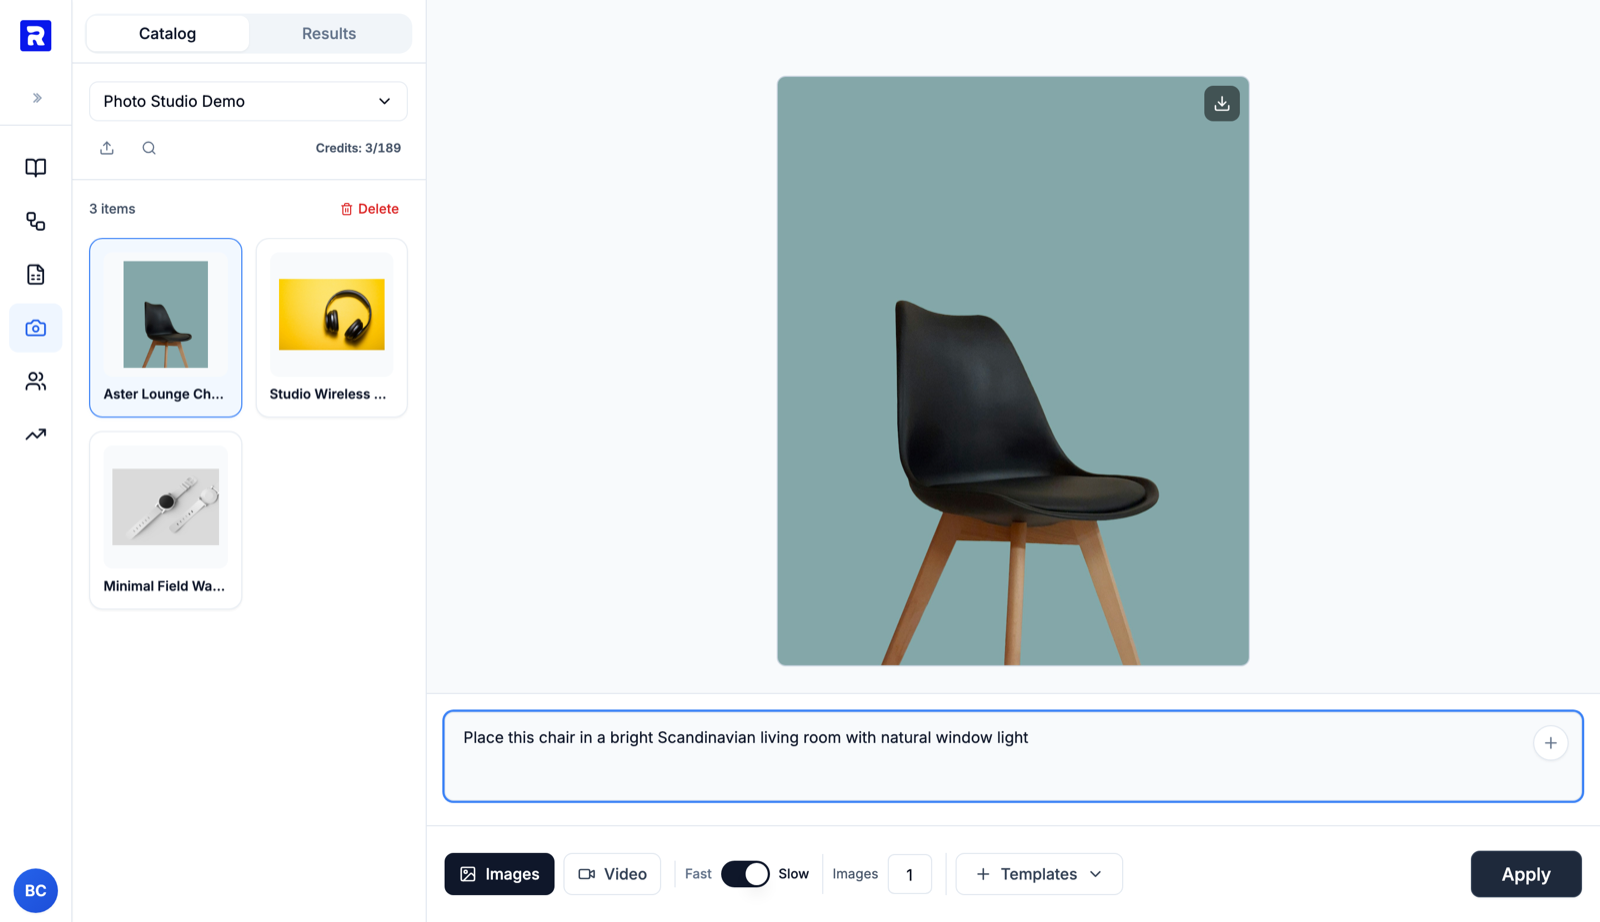
- 1
Select a catalog and a product
Choose the catalog in the dropdown, then click a product in the grid. Its image loads on the canvas. - 2
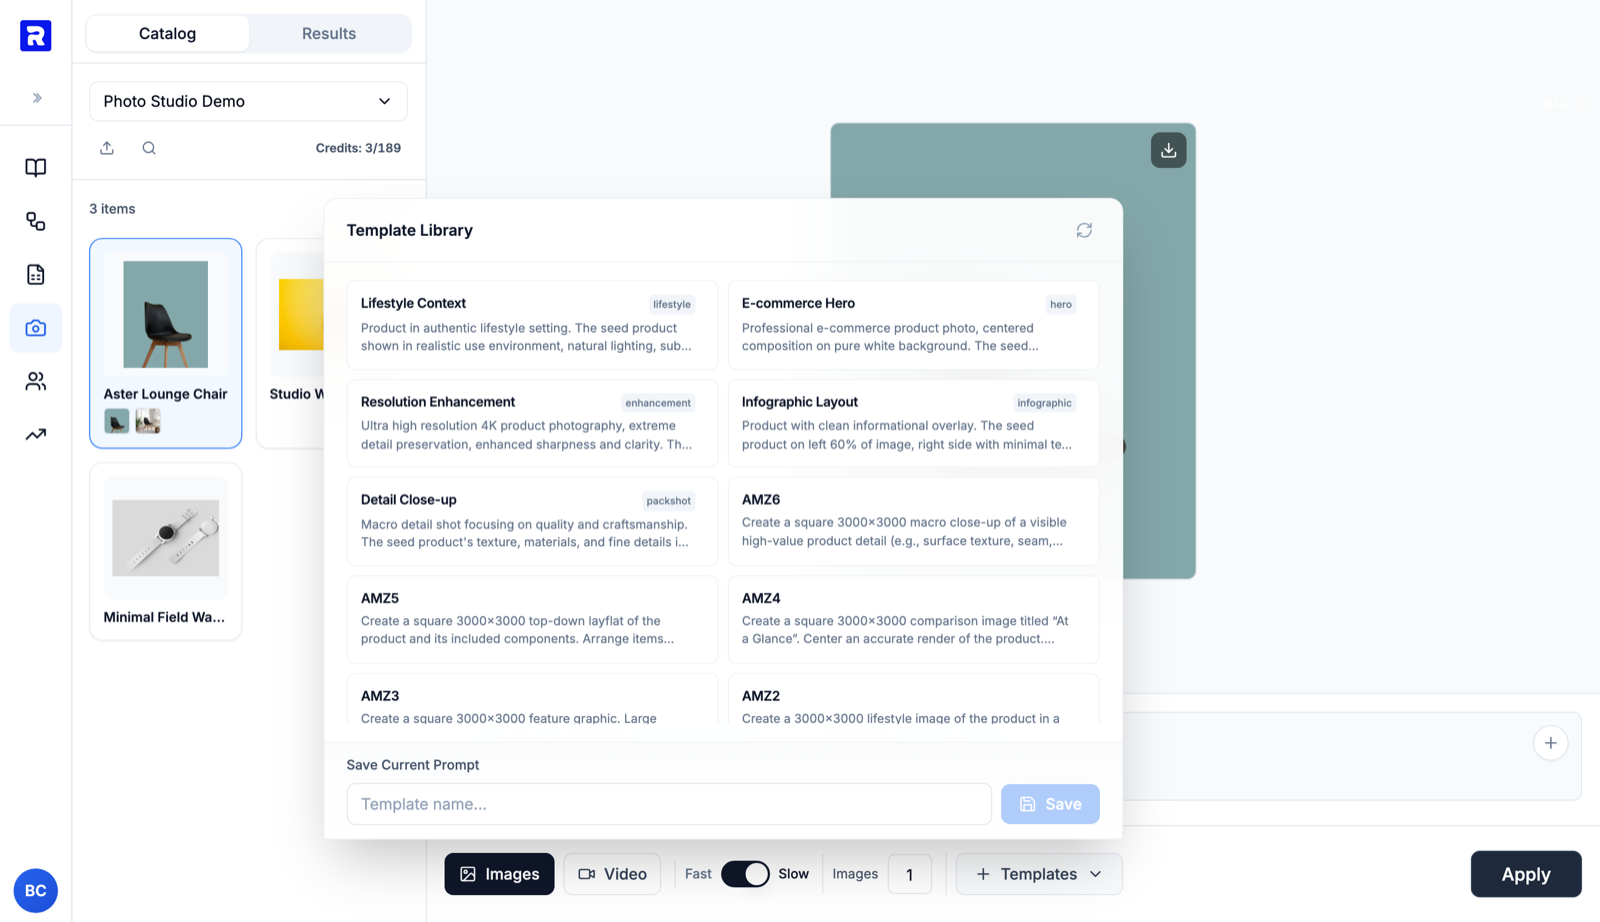
Pick a template or write a prompt
Templates are saved prompts for your recurring shots. The most common one: a main image that must be product-only on a pure white background. Pick one from Templatesand add a few product specifics, or write the instruction from scratch — “Place this chair in a bright Scandinavian living room with natural window light” is a perfectly good prompt. - 3
Choose speed and how many options
Fast is cheaper and quicker for iterating; Slow uses the highest-quality model for final shots. Bump Images to generate several options in one run and pick the best. - 4
Apply and compare
Click Apply. The run takes under a minute for images; the Results tab tracks progress, and you can keep working or queue edits on other products meanwhile. You are only charged for successful runs.
4Saving back to the catalog
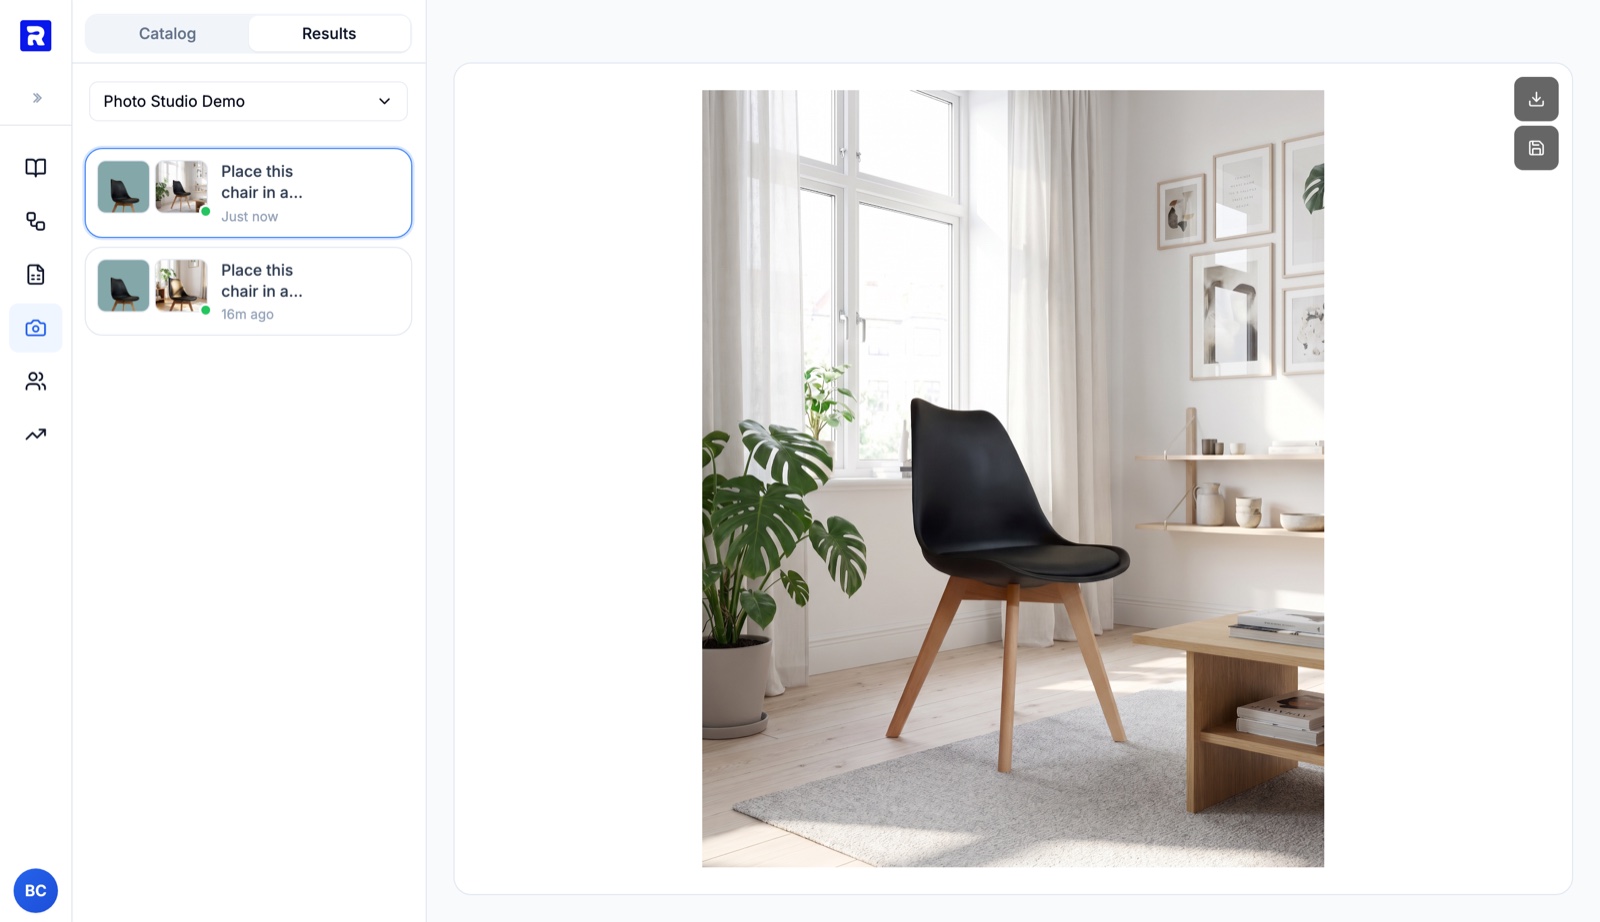
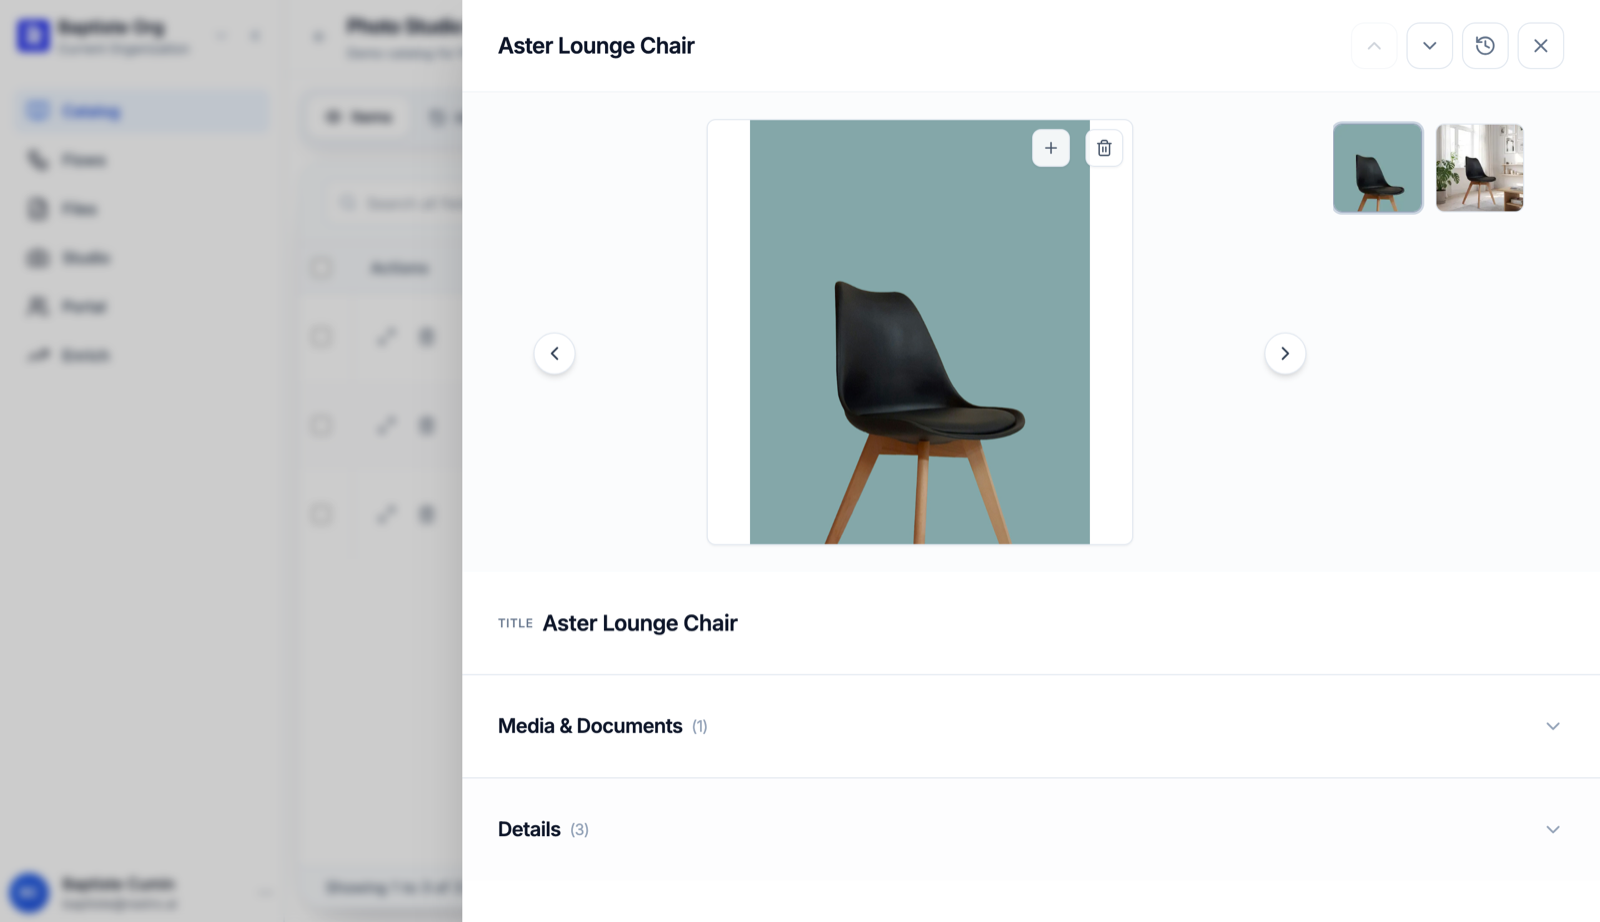
Use the buttons in the top-right corner to download the file or save it to the catalog. Saving appends the image to the product's gallery — your original photos are never overwritten — and from there it flows into every export and integration like any other product image.
5Videos
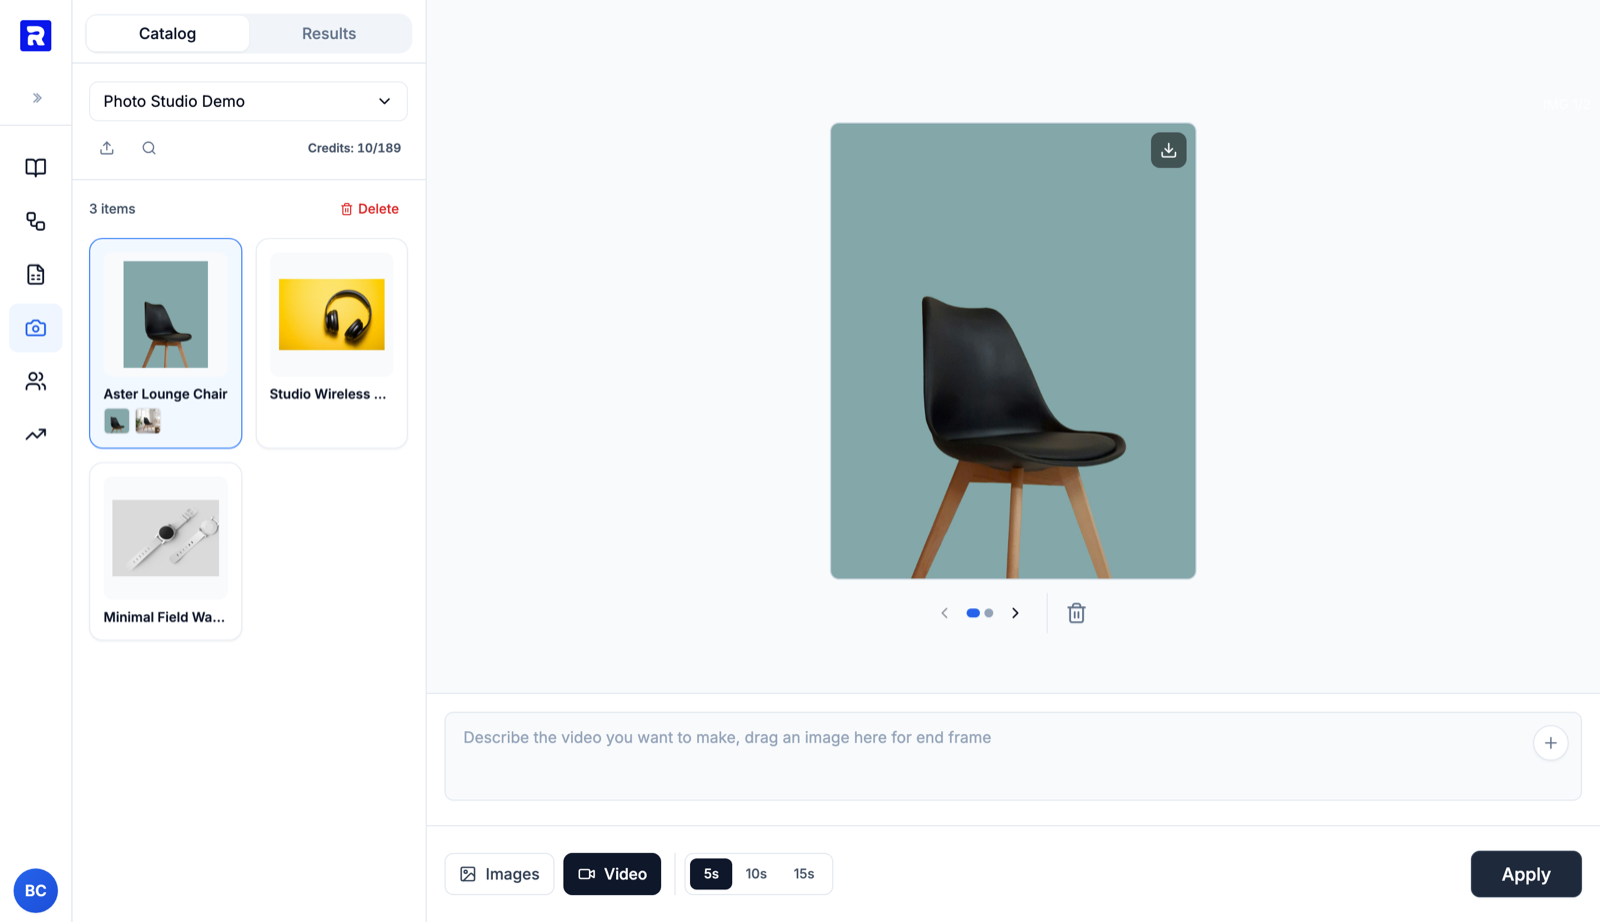
The Video tool turns a product image into a short clip — pick 5s, 10s or 15s, describe the motion, and optionally drag an image into the prompt bar to use as the end frame. Finished clips land in the same Results tab, with a trim control next to download, and save to the product just like images. Videos cost more credits than images; the estimate in the catalog panel always shows the price before you run.
6Bulk processing
- 1
Select multiple products
Tick products in the grid, or select all on a filtered list. - 2
Apply one operation to all of them
Choose the template and settings as usual; Apply runs the same operation across the selection, with progress per product. - 3
Review in Results
The Results tab collects every generation. Keep the good ones, rerun the rest, and save approved images back to the catalog.
Each generation costs studio credits, shown in the catalog panel, so you always know usage before you run. History keeps every input and output image, so nothing is lost between sessions.